You don't need a sailing to learn useful knots; these are four of our favorites.

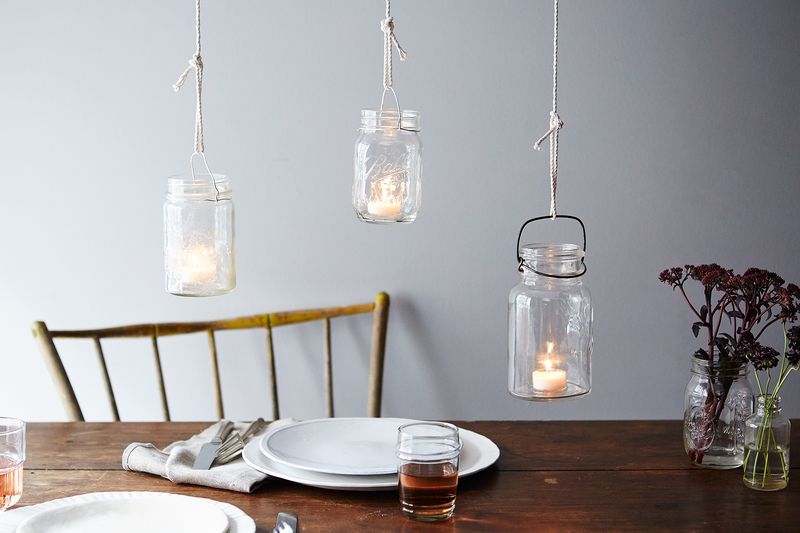
The double bowline knot, used here to suspend mason jars and votives, creates a strong loop at the end of a line.
When I was younger, my parents took me camping all the time. So at a tender age, I was aware of how to coax flames out of a fire (paper plate fan), catch frogs in the dark, and set up a tent. These days, I probably wouldn't survive overnight, considering I'm all thumbs when it comes to tying a strong knot—skill #1 for setting up a tent that doesn't collapse on you overnight. And that got me thinking that I should actually learn how to tie some good ones!
Here are four knots that I found easy to learn with a little practice and that you can use around the house, about your day, and in a pinch: the two half-hitch, the square knot, the bowline, and the double bowline.
The Two Half-Hitch
Commonly used to tie a rope to a tree or a boat to a dock, the two half-hitch knot is just a pair of identical loops around the same cord that tighten gently. It can also be used to make another knot stronger.
The two half-hitch (sometimes called a double half-hitch) won't bear much weight—you wouldn't want to hang anything from it—but it's quick to tie and handy for everyday uses, like anchoring a cord to a cutting board, tethering your pup while you run inside the store, or (maybe not every day) making a really cool chevron necklace.
Slip the rope around or through what you're securing it to (1), be it a cutting board, a tree, or a cleat on a boat. Pull the short end back towards you and wrap it over the length of the rope, then slip it up through the loop created (2). Repeat this motion exactly, so you have two loops (3, 4), then pull tight (5).
The Square Knot
You think you know how to tie a square knot, but are you sure? Used to secure a rope, or two pieces of rope, around an object, it's an ancient knot with one simple trick to it—that you switch directions halfway through (like when your yoga teacher says to cross your legs the other way this time).
Holding one rope in each hand (1), cross the rope in your right hand over (2) and then under (3) the other, so they're intwined just once. The rope that started on the right side (orange) will now be in your left hand (4). Now, repeat the motion but in the opposite direction, so that the rope in your left hand (orange) is the one to cross over and under (5).
The resulting square knot (6) will pull taut easily (7, 8) and stay that way.
The Bowline
A climber's knot known as the "king of knots," the bowline is the most nuanced of the knots we've covered so far—but that's where it gets its strength. It's used to create a loop at the end of a line, and there's a saying that makes it easy to remember: "the snake comes out of the hole, goes around the tree, and then goes back into the hole." Here's the step-by-step:
Create a loop in your rope so the short end lays over the long end—leaving plenty of length between the loop and the end of the rope. Then thread the end up through the loop (1, 2—snake leaving the hole). The big new loop that now exists (2, 3) is the one you're securing at the end of the rope. Now, lead the end of the rope around and behind the long end (3—snake going the tree), and back through the small opening you've created (4—snake going back in the hole).
Pull tight by extending the sides of the new loop, so that it gets knotted to the rope rightly. Voilà! You've got a tight loop that you can use for hanging all kinds of things.
The Double Bowline
Over time, climbers learned the hard way that the bowline, while very strong, can slip. If you're trying to hang something very heavy, you might consider tying a double bowline instead (a simple bowline should work fine for temporary installation). It's the same knot as above, but instead of just making one loop for the snake to emerge from, you make two. Here's how it plays out:
Make one loop (1), then another right on top of it (2). Now, thread the snake up through that hole (3) and around the tree (4). Pull it back through the hole (5, 6).
Now grab the end from the other side of the hole (7) and pull on it and the side of the big loop to tighten (8).
You might have to jimmy it a bit—there are a lot of things going on in this knot! But eventually it will pull tight and you'll have a super-solid loop at the end of your rope.
Make a bowline or a double bowline at the end of rope you need to hang from the ceiling—then loop it on something sturdy like a mounted hook or a bar. If you're eager to put it to use, try suspending a hanging centerpiece, a DIY hanging clothing rack, or a hanging laundry rack.
from Food52 http://ift.tt/1LGGSAY
No comments:
Post a Comment